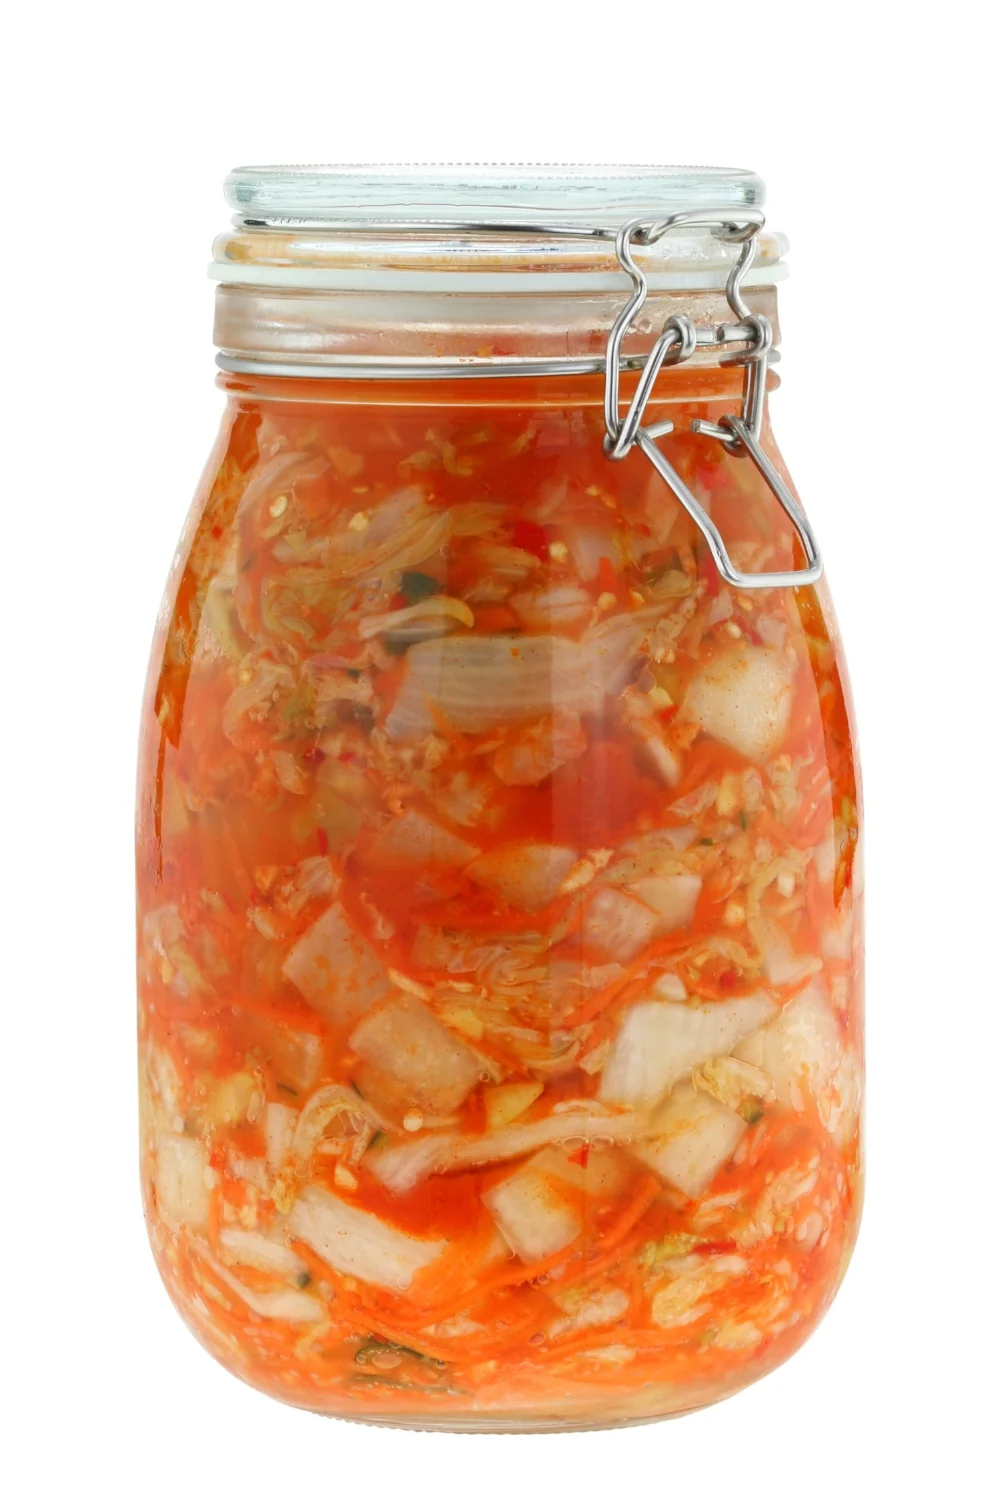
Red Cabbage and Gringer Kraut
This post contains affiliate links to products that I use myself or can recommend. My affiliate policy.

This is a vibrant variation on traditional sauerkraut. The ginger provides a lively kick.
I found the recipe in Holly Davis’ book - Ferment an amazing book and guide to classic fermentation principles and interesting recipes.
This dish is a superfood when it comes to the gut. Fermented cabbage is easier to digest than raw or cooked, plus the probiotics and the lactic acid improve intestinal health.
It’s great with your lunch or dinner. It pairs well with almost everything. Use it as a condiment and instead of salt.
Serve with meat, eggs, fish dishes or with rice or other vegetables.
MORE: Why The Secret To Your Health and Happiness Is In Your Micobiome
Recipe
Props:
Large mixing bowl
Sharp knife
Disposable plastic gloves (optional)
Ingredients:
450 1 head red cabbage (550 g)
1 large knob ginger, finely chopped or grated
2% Sea salt (11 g.)

Instructions:
1. Wash and process the vegetables. Be sure to rinse the skins of each vegetable thoroughly.
2. Remove one or two of the outer leaves of the cabbage and put it aside.
3. Slice the cabbage into halves
4. Remove the core (it’s got some sugar in it that you don’t want), then chop into 1 cm wide strips.
5. Chop the cauliflower - also remove its core.
6. Weigh the ingredients except the outer cabbage leaves, and place them in a large mixing bowl.
7. Massage the veggies with clean hands (or wear disposable gloves) to release their juices– about 5-10 minutes.
8. Transfer the mixture to your preserving jar, pressing down as you pack the jar so that more brine juices are released. Fill the jar up.

9. Smash it down; make sure the kraut is below the brine, that so it goes anaerobic, which means that there is no oxygen in the solution. The bacteria you try to cultivate are anaerobic, and oxygen can cause all kinds of problems like mold and yeast.
10. Fold the leaves you set aside in the beginning and place them on top of your kraut using them to press the veggies under the brine.
11. Seal the jar and place out of direct light.
12. Allow to ferment for 7-21 days at room temperature. Warmer temperatures will speed up the process, cooler will slow it down.
13. Gradually, you vil notice bubbles, a few at first and then masses. The bubbles will begin to subside, and this is the point at which you can start tasting the kraut. You want it to taste sauer. Have a little patience with it. I find the kraut to be best after about 3-4 weeks time for flavor and texture. But keep tasting until you’re happy with the flavours.
14. The lid must be opened every day to allow the jar to “burp” (release built-up gases).
15. When you're happy with taste and texture, transfer your kraut to a cooler temperature. Place it in the cellar or in your refrigerator. This will slow down the fermentation process, allowing you to keep it for several months
General thoughts on fermentation:
Start slow. If you are new to fermented foods, start with very small portions and proceed slowly.
The ideal temperature for lacto-fermentation of fruit and vegetables is 22 degrees.
Taste your ferment every day. There's no special moment at which a ferment is "ready" - it's all a matter of taste. After just a day or two, the ferment will develop a tang. Keep tasting it every day until it reaches the level of tartness you want.
A good sign that your vegetables will be ready is when you open the jar and there is a sour (think vinegar-y) flavour, and bubbles start to travel up the inside of the glass when tapped or moved. At this point, transfer to the fridge, where they will continue fermenting, but at a much slower pace.
Mold. If some vegetables emerge at the top of the liquid, they may develop a layer of mold. Simply scrape this off and make sure the remaining vegetables are weighted under the liquid. The mold is harmless and will not ruin the ferment.