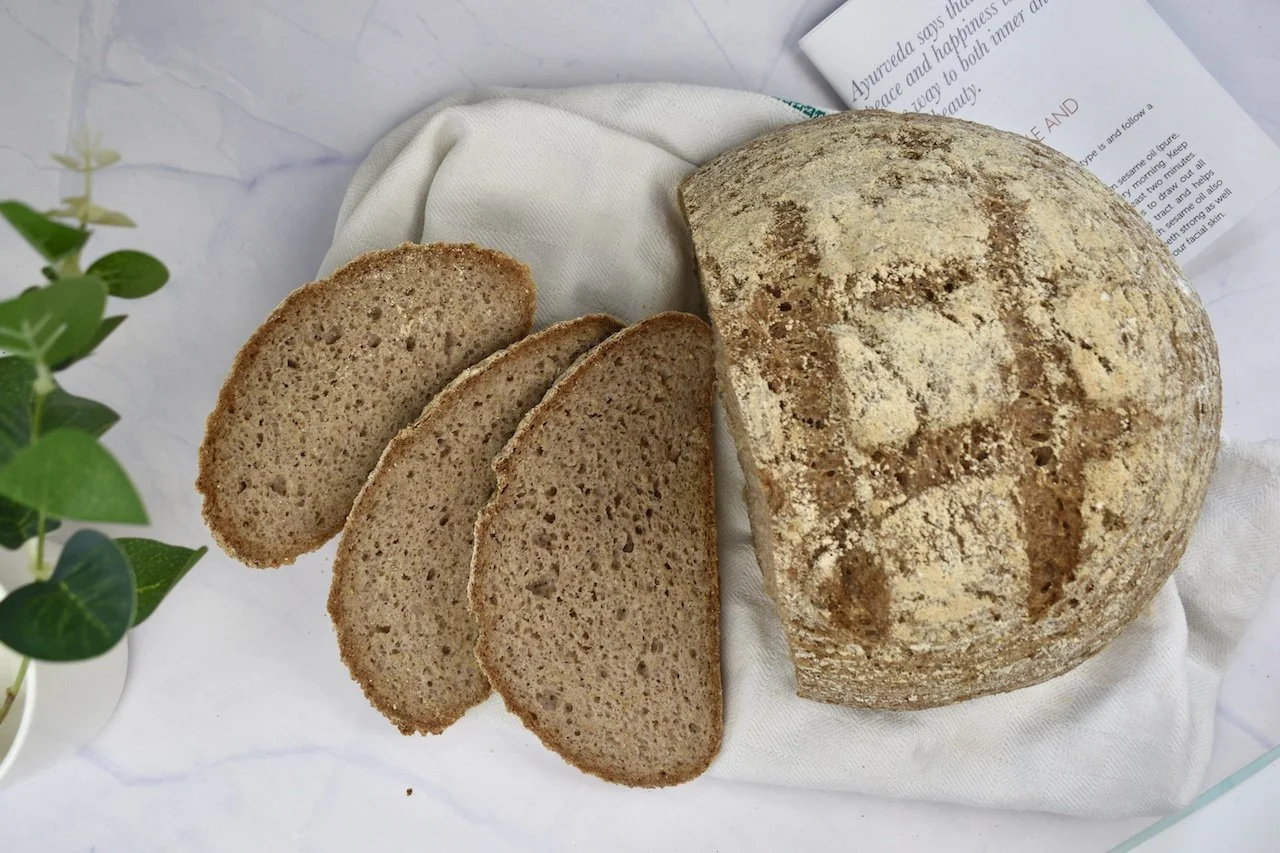
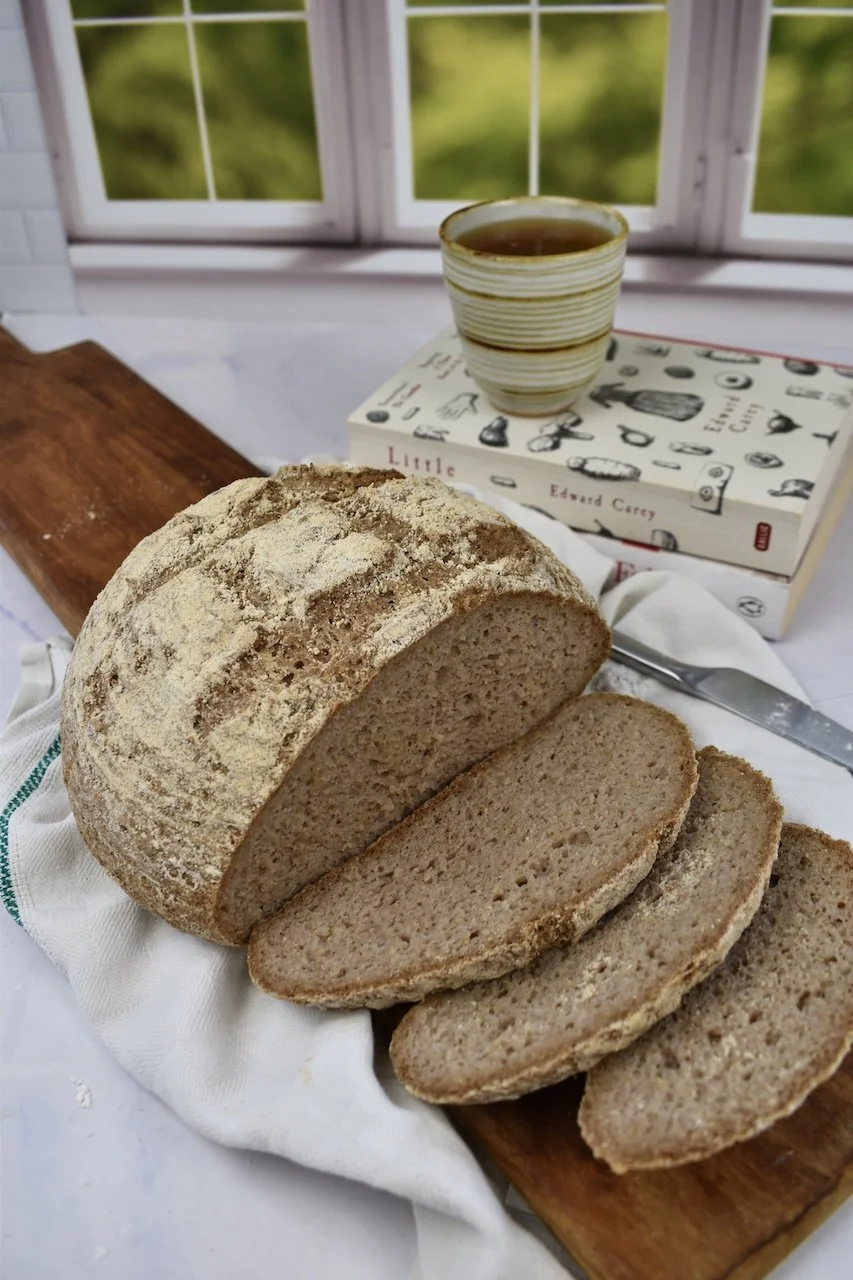
Gluten-Free Artisan-Style Boule Bread (Vegan)
The Ultimate Gluten-Free Bread
For gluten-sensitive bread lovers, this is an incredible loaf. It looks, feels, and nearly tastes like traditional sourdough.
If you're like me—unable to tolerate gluten and missing the taste of classic, rustic bread—your search ends here. This loaf has a flavor that’ll get you hooked, a crisp crust, and a soft, chewy crumb. Honestly, it tastes better than most gluten breads I’ve ever had.
I’d grown tired of buckwheat and rice flour, so I went searching for new inspiration and came up with this flour blend—and I’m beyond excited about it. The best part? It’s surprisingly easy to make. The dough largely takes care of itself, and if you follow the slightly unconventional baking process, you’re almost guaranteed success.
About the Ingredients
Psyllium Husk
Psyllium husk is essential for great gluten-free bread.
Gluten gives dough its elasticity and lightness. Psyllium, when mixed with water, forms a gel that mimics gluten’s structural properties. Without it, your bread will likely turn out flat and dense.

Active Dried Yeast
Use active dry yeast that’s ready to mix directly into your flour blend—no pre-activation needed.
Apple Cider Vinegar
A splash of apple cider vinegar helps the yeast thrive by creating a slightly acidic environment, which boosts fermentation.
Sorghum Flour
Sorghum, cultivated for over 8,000 years, is one of the world's top five cereal crops. It’s similar to wheat in structure but has two key differences: it’s gluten-free, and the seed lacks a hull.
Environmentally, sorghum is a star. It’s heat- and drought-resistant and actually helps improve air quality by pulling carbon from the atmosphere and storing it in the soil.
If needed, you can substitute sorghum flour with buckwheat flour.
Chestnut flour
Using chestnut flour adds a rich and subtly sweet taste, lending a slightly deeper hue to the bread.
Oatmeal Flour
Oats stand out from other cereals because they contain healthy fatty acids and fibers like beta-glucan. Beta-glucan is particularly good for the heart as it can contribute to maintaining normal cholesterol levels. Oat is beneficial for digestion and has a relatively high protein content for cereal. It's one of the more effortless flours in the gluten-free kitchen. You can easily make your own oat flour simply by blending rolled oats.
Tip: If you don’t have any oat flour, don’t worry — it’s really easy to make at home. Just pop some rolled oats into a blender or food processor, blitz for about a minute, and you’ve got yourself homemade oat flour.
Tapioca Flour
Tapioca is something of a secret weapon—trusted by seasoned gluten-free bakers and now a permanent fixture in my own kitchen.
Tapioca is a starch extracted from cassava, a root vegetable that has been a dietary staple across much of Africa, Asia, and South America for centuries. These days, it’s also a go-to ingredient in gluten-free baking and a favourite among those following a paleo diet, as it’s naturally free from gluten, grains, and nuts.
One of the great things about tapioca flour is that it’s completely tasteless and odourless, making it incredibly versatile. It blends seamlessly into both sweet and savoury recipes without affecting the flavour.
In baking, it works a bit like gluten—it helps bind ingredients, resulting in a softer, lighter, and more elastic texture. Without it, gluten-free bread can easily turn out dense or crumbly.
While you can substitute tapioca with something like potato starch, I find that tapioca gives a superior texture and a more delicate crumb—especially in breads like this focaccia
Kneading and Proofing
First Kneading
You can mix the dough by hand or with a mixer fitted with dough hooks. Once the wet and dry ingredients are combined, transfer the dough to a lightly oiled surface. I prefer using coconut oil and kneading with oiled hands.
Gluten-free dough doesn’t require traditional kneading techniques—there’s no gluten to stretch. Just work the dough until smooth.
Shape the dough into a ball by flattening it into a disc, then folding the edges inward in a circular motion. Flip it seam-side down and gently rotate to seal the seams.
First Rise
The first rise develops flavor—essential for that deep, well-fermented taste we associate with artisan bread.
Place the dough in a bowl, cover it with a damp tea towel, and let it rise in a warm place for about 1 hour, or until roughly doubled in size.
Second Kneading
Once the dough has risen, knead it gently again as before. This second knead introduces oxygen, encouraging the yeast to produce smaller, more evenly distributed air bubbles.
Second Rise
Lightly oil a 7-inch (18 cm) round proofing basket with coconut oil and dust it with flour. Place the dough seam-side up into the basket.
Cover with a damp tea towel and let it rise in a warm place for another hour or until doubled in size.
The Oven Set-Up
Preheat your oven to 480°F (250°C) for 30–45 minutes before baking.
Place a baking tray on the bottom oven rack and fill it with hot water to generate steam during the first 20 minutes of baking. This steam keeps the crust soft enough for the bread to expand fully before it sets.
Also preheat a pizza stone, baking steel, or an oven-proof tart pan on the middle rack.
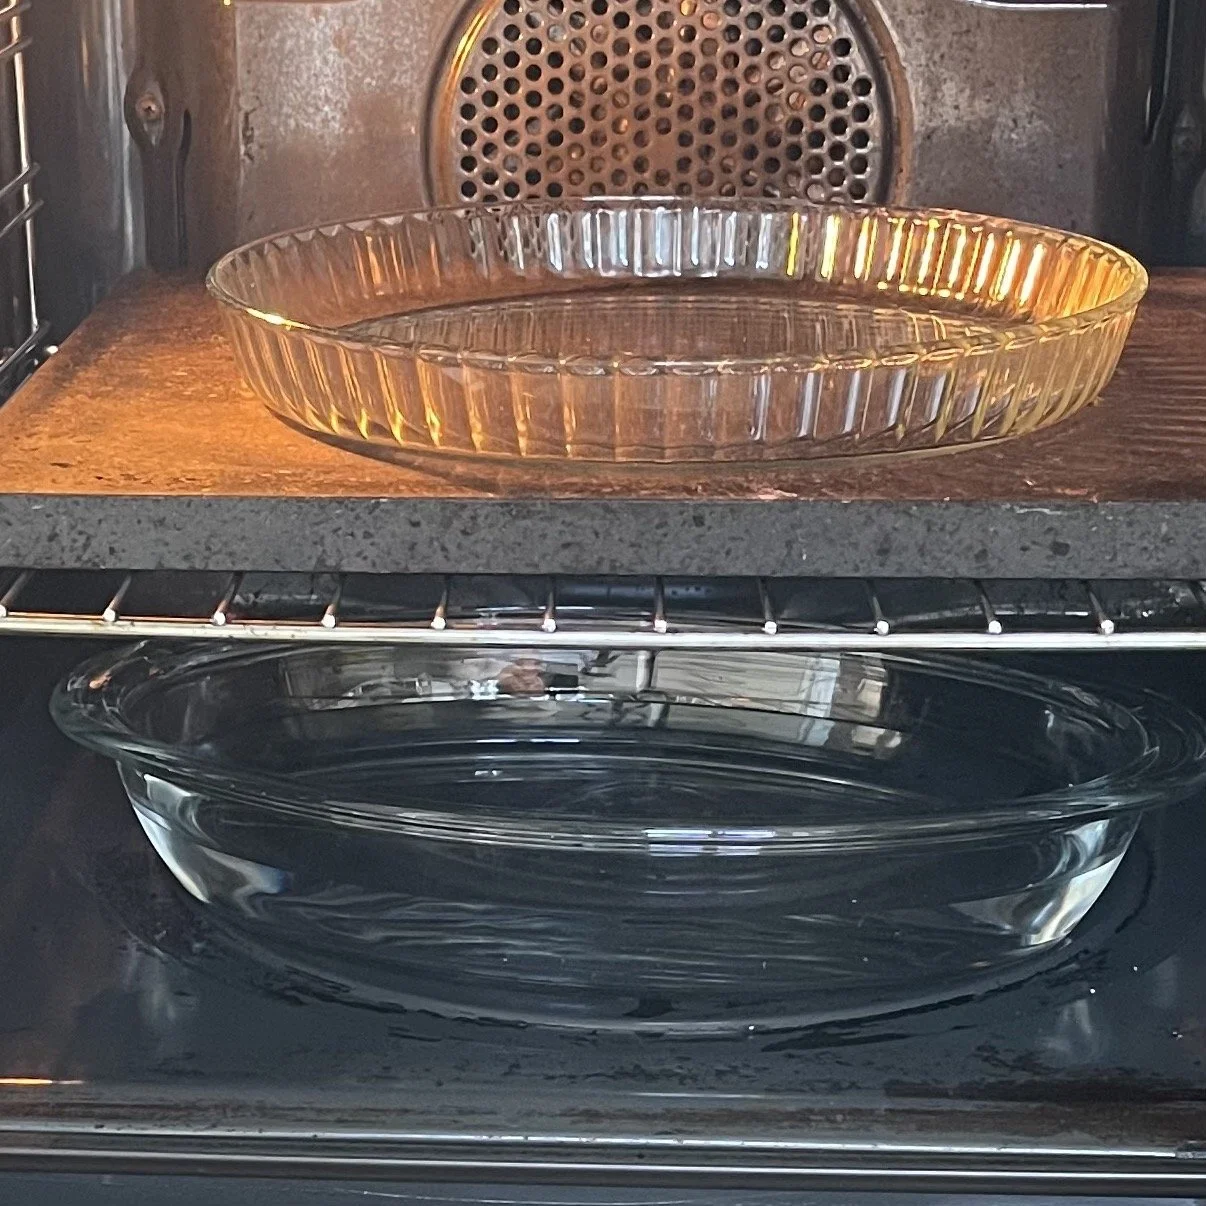
Oven set-up from the top: Oven-proof tart pan, pizza stone, and baking tray with water
Recipe
Prep Time: 30 mins
Cook/Bake Time: 1 hr
Rise Time: 2 hrs
Total Time: 3 hrs 30 mins
Equipment:
Raising basket approx. 7 inch / 18 cm (optional)
Hand mixer with dough hooks or stand mixer with dough hook
Oven-proof pan for the steam
Baking sheets
Ingredients:
585 g. lukewarm water
8 g. Active dried yeast
30 g. Psyllium husk (rough husk form)
140 g. Oat flour
140 g. Sorghum flour
60 g. Chestnut flour
140 g. Tapioca flour
15 g. Salt
18 g. Apple Cider Vinegar
Instructions:
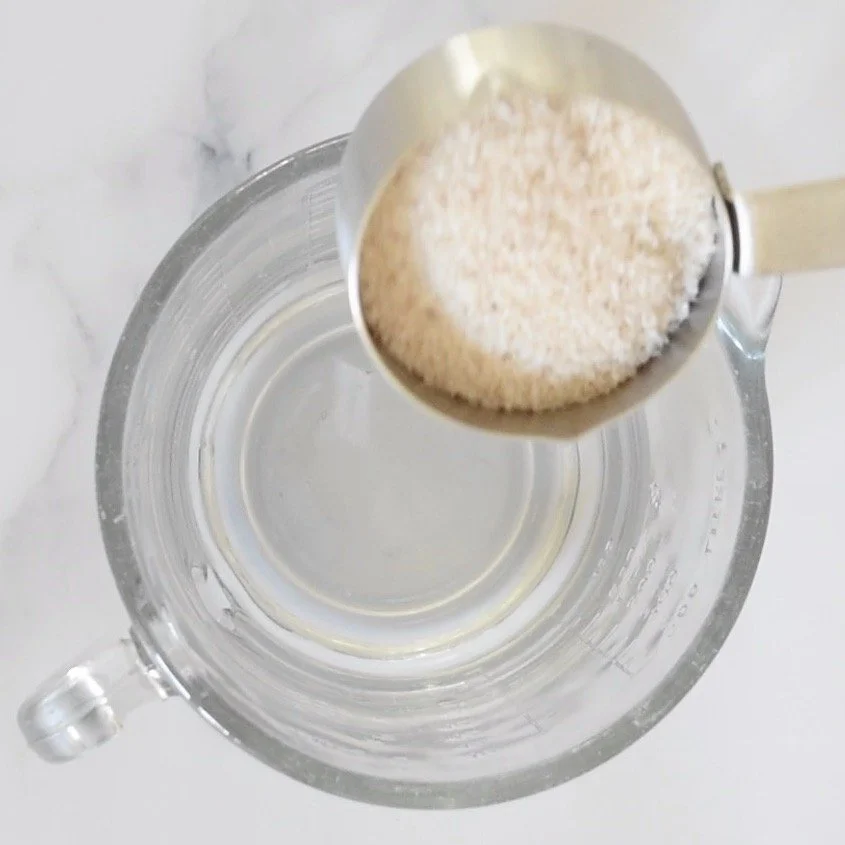
Mix psyllium husk and water in a bowl. After 15–30 seconds, a gel will form.
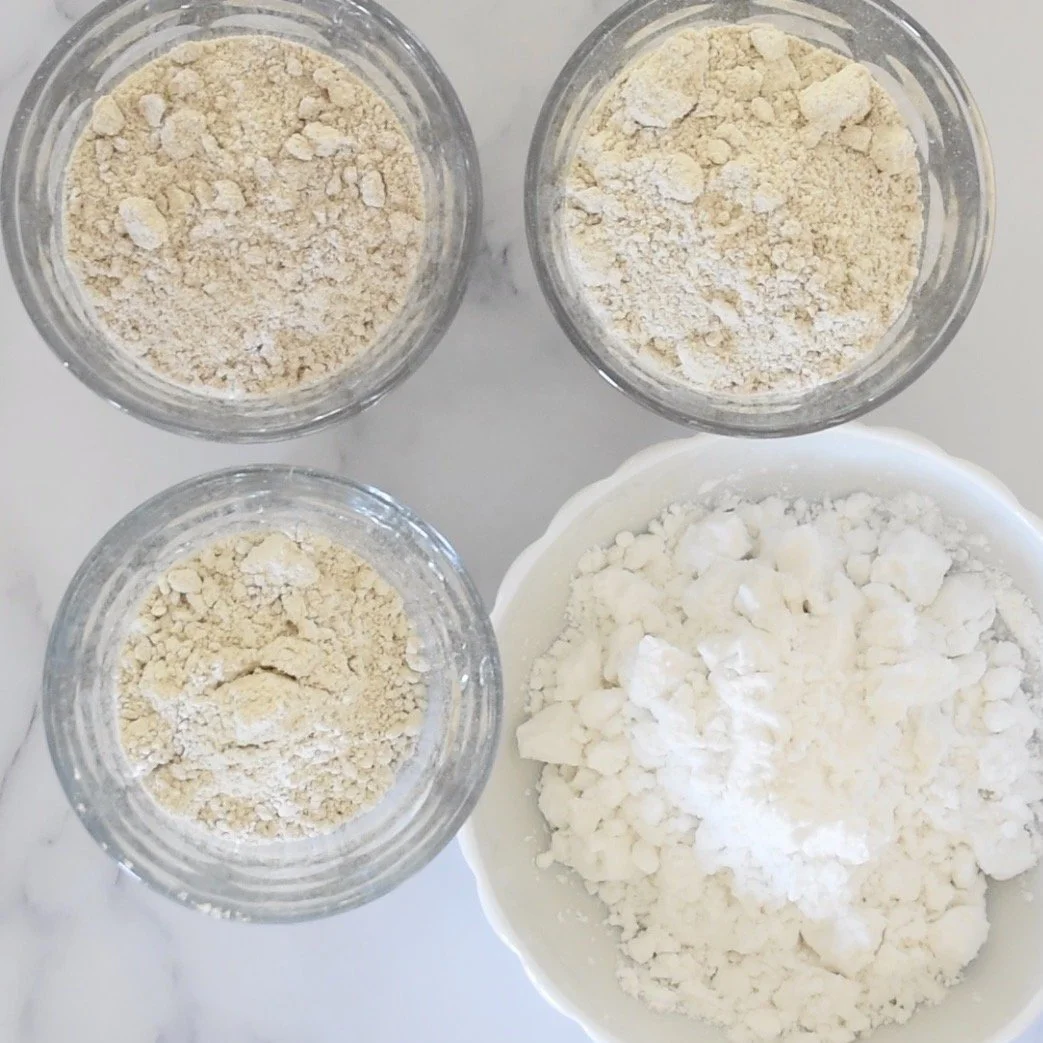
In a large bowl, whisk together oat flour, sorghum flour, chestnut flour, potato starch, yeast, and salt.
Add the psyllium gel and apple cider vinegar to the dry ingredients.
Knead the dough until it starts to come away from the bowl, about 5–10 minutes by hand or mixer.
Transfer the dough to a lightly oiled surface and gently form it into a smooth ball.
Place it seam-side down into a bowl, cover with a damp tea towel, and let rise in a warm spot for 1 hour or until doubled in size.
Oil and flour your proofing basket.
Turn the dough onto a lightly oiled surface and gently knead while shaping it into a tight ball.
Place the dough seam-side up into the proofing basket. Cover and let rise for another hour or until doubled.
While proofing, preheat the oven to 480°F (250°C). Place your tart pan, stone, or steel on the middle rack and a tray of water on the bottom rack.
Once the dough has risen, carefully turn it out onto parchment paper. Score the top about 1/4–1/2 inch deep with a sharp knife or blade.
Place the bread (on parchment) into the preheated tart pan or onto the stone/steel.
Bake at 480°F (250°C) for 20 minutes with steam. Don’t open the oven.
After max. 20 minutes, remove the tray of water. Lower the oven temperature to 450°F (230°C) and bake for another 40–50 minutes.
If the crust browns too quickly, tent it with aluminum foil (shiny side up).
Once deeply golden and firm, remove from the oven and transfer to a wire rack. Let cool completely before slicing.
Enjoy!
Storage Tips
Store in an airtight container or cover in plastic/beeswax wrap. Keep at room temperature for a couple of days, refrigerate for longer storage, or slice and freeze.