Gluten-free White Bread with Crips Crust

If you love bread but can't eat gluten and miss the taste of white bread, I have some good news for you! You can make a delicious bread that tastes great, has a crispy crust, and is soft and airy inside. Plus, it's filling and full of fiber you don't usually get in French bread.
Making this bread is easy. Just follow the specific instructions, and you'll end up with a yummy bread you can really enjoy.
About the Ingredients
Psyllium Husk
Psyllium Husk is crucial if you want to bake good gluten-free bread.
Gluten is what gives dough elasticity and lightness.
When mixed with water, psyllium husk forms a gel – which acts as the gluten substitute in the dough and the baked bread. Without the husks, the gluten-free bread gets flat and dense.

Active Dried Yeast
Buy activated dry yeast that's ready to add to the flour mixture.
Apple Cider Vinegar
Apple cider vinegar gives the yeast an extra activity boost by creating a slightly acidic environment.
Olive Oil
Adding a few tablespoons of olive oil to the dough will give your bread a more open crumb, and a thinner and crispier crust. And the extra depth of flavor that olive oil adds is totally worth it.
Sorghum Flour
Sorghum has been grown for some 8,000 years, is now one of the top five cereal crops in the world, and has been a nutritional powerhouse long before science told us so. It's similar to wheat but has two significant differences: the seed has no hull and is gluten-free.
The crop itself is good for the environment. Its high tolerance for heat and drought makes it an exceptionally efficient crop. Sorghum also improves air quality by removing carbon from the atmosphere and storing it in the soil.
Millet flour
Is fairly similar to regular wheat flour in taste and texture making it a great alternative in gluten-free baking. It has a mild corn-like flavor that adds a crumbly, tender texture to baked goods.
Oatmeal Flour
Oats stand out from other cereals because they contain healthy fatty acids and fibers like beta-glucan. Beta-glucan is particularly good for the heart as it can contribute to maintaining normal cholesterol levels. Oat is beneficial for digestion and has a relatively high protein content for cereal. It's one of the more effortless flours in the gluten-free kitchen. You can easily make your own oat flour simply by blending rolled oats.
Tapioca flour
Have you ever heard of tapioca flour? It's a secret ingredient that avid bakers use to take their recipes to the next level.
Tapioca is a starch that derives from the cassava root. This cassava starch is a dietary staple in various countries in Africa, Asia and South America.
Tapioca is naturally gluten free and can serve as a wheat substitute in a variety of gluten free recipes. It’s also a favorite amongst those following a paleo diet.
Because this cassava starch is both odorless and tasteless, it makes it easy to add to any recipe (savory or sweet) without changing the flavor of the recipe itself.
When added to baked goods, tapioca starch helps the ingredients properly bind together. A function that gluten is often used for. Tapioca starch's binding abilities help bakers achieve baked goods that are fluffy, light and spongy in texture.
You can substitude Tapioca Flour with Potato Starch (but in my experience you get the best taste and texture with tapioca).
About Kneading and shaping the dough
You can make the dough either by hand or by using a stand mixer that has a dough hook attachment. Both methods work well, but you may need to knead the dough more if you do it by hand.
The dough should end up smooth and flexible, with no clumps of unmixed flour or psyllium gel, and it should come off the sides of the mixing bowl. It shouldn't feel sticky to the touch (keep in mind that this means when you touch it gently with clean hands, as it will stick to your hands while you're kneading it).
Do not add more flour to the dough, as that can make your bread too dense and dry.
Shaping
When shaping the loaf, it's best to do so on a surface that has been lightly floured. It's important to note the emphasis on the word "lightly", as you don't want to use too much flour. I typically use millet flour for this step.
To shape the white bread loaf, start by rolling out the dough into an 11 inch (28cm) long rectangle that is approximately 7-8 inches (18-20cm) wide.
Now roll up that dough. Start by folding it over itself along the wider end and give it a gentle press to seal. Keep doing this until you've got yourself a log that's around 10 inches (25cm) long. Don't forget to pinch the seam together nice and tight to seal it up!
Finally, transfer the dough, seam side down, to a large baking sheet lined with parchment/baking paper. It’s now ready for proofing!
Proofing & baking situation
Plop your loaf right onto the baking sheet. You can cover it up with some plastic wrap to keep it nice and moist, then let it sit in a warm spot for about an hour.
Crank your oven to 425ºF (220ºC) before baking your bread. Start preheating it about 30 minutes into the proofing.
Put a cast iron skillet or a heavy-duty baking tray with water on the bottom of the oven to create steam during the first part of baking.
Once your loaf has doubled in size, give it a little whisked egg white love and score it 5-7 times with a sharp knife. Then, pop it in the oven and reduce the temperature to 400ºF (200ºC). And voila, you're on your way to some seriously scrumptious homemade bread!
Bake the loaf with the steam for 15 minutes.Then, remove the steam source and let it bake for another 25-30 minutes until it's golden, crisp, and beautiful.
Trust me, your kitchen will smell amazing!
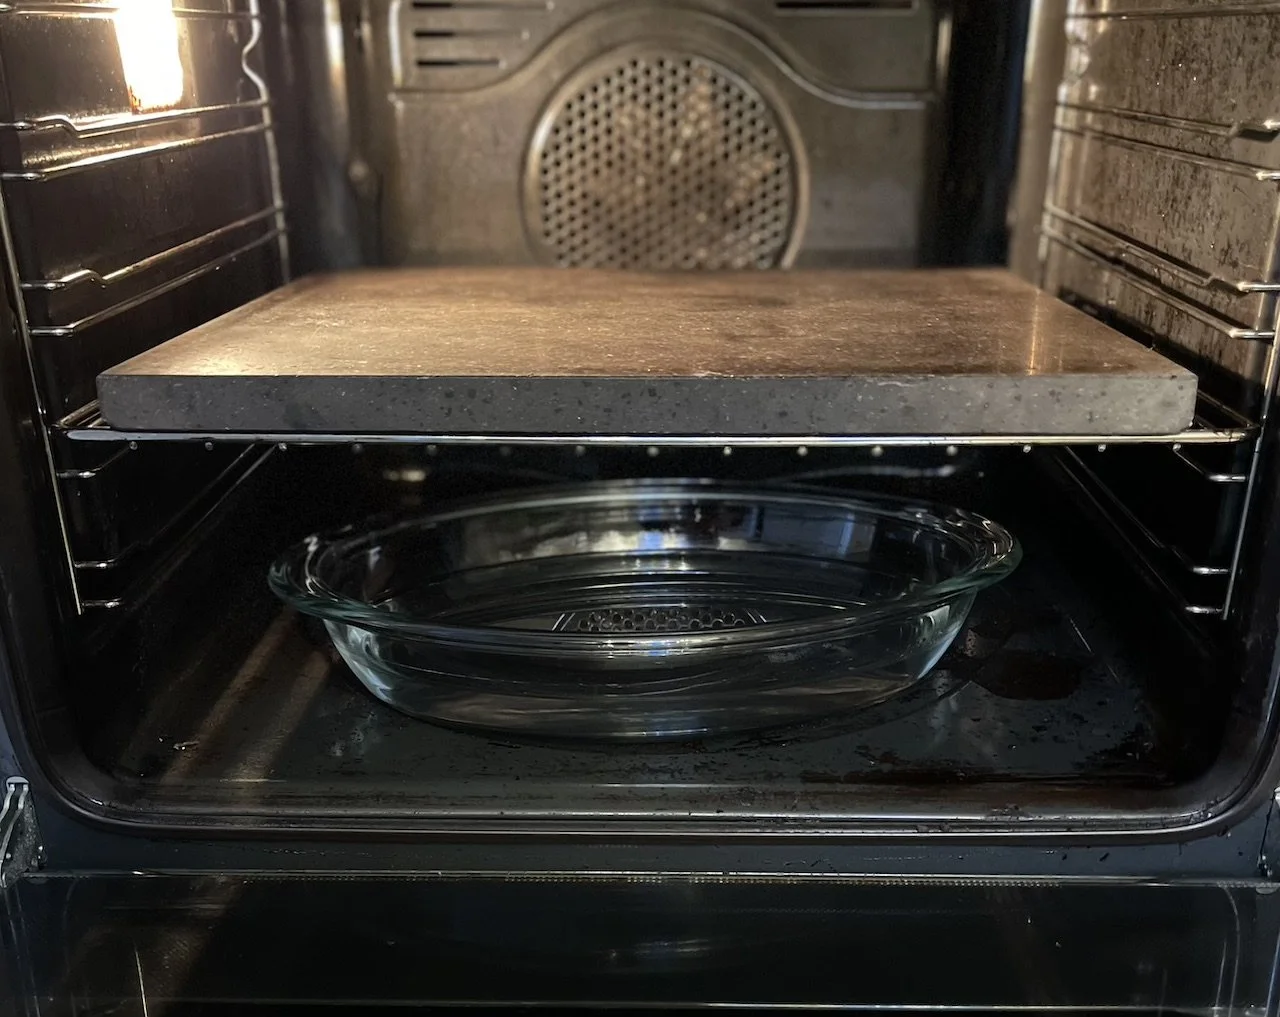
My oven set-up: Pizza stone and baking tray with water
Recipe
Prep time: 30 min.
Rise time: 1 hour
Baking time: 40-45 min.
Total time: 2 hours and 15 minutes
Equipment
Hand mixer with dough hooks or stand mixer with dough hook
Oven-proof dish
Baking paper
Ingredients:
550 g. lukewarm water (divided)
30 g. Psyllium husk (rough husk form)
220 g. Tapioca flour or Potato starch
220 g. Millet flour
75 g. Sorghum flour
10 g. Active dried yeast
12 g. Salt
23 g. Olive Oil
14 g. Apple Cider Vinegar
1 egg white
Instructions
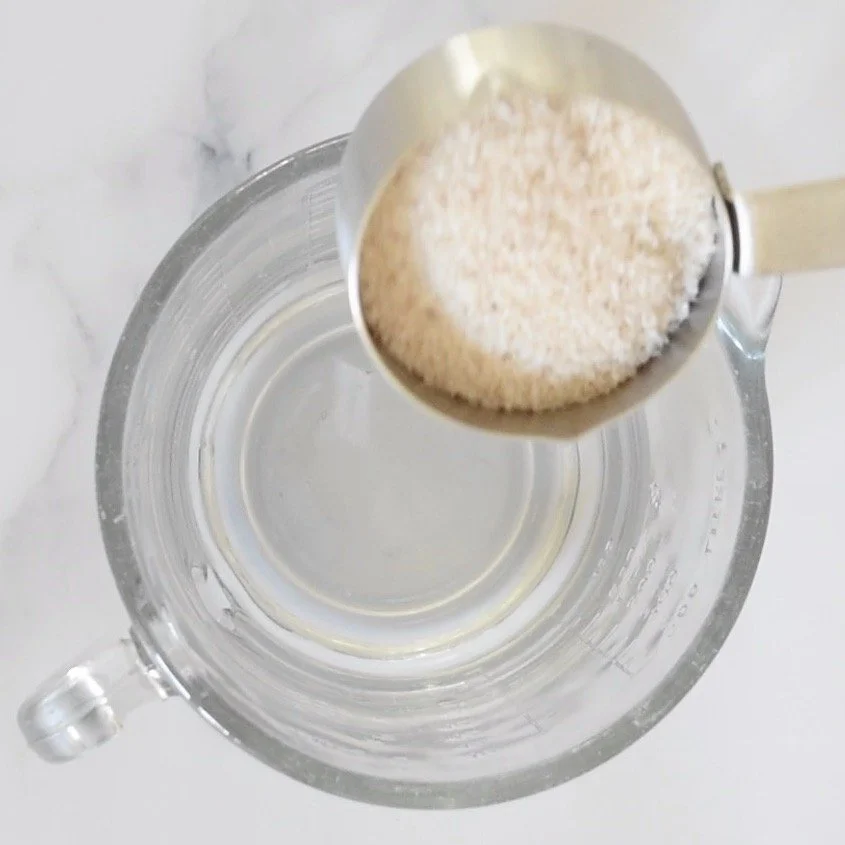
Mix the psyllium husk and 550 g water in a bowl. After about 15 – 30 seconds, a gel will form.
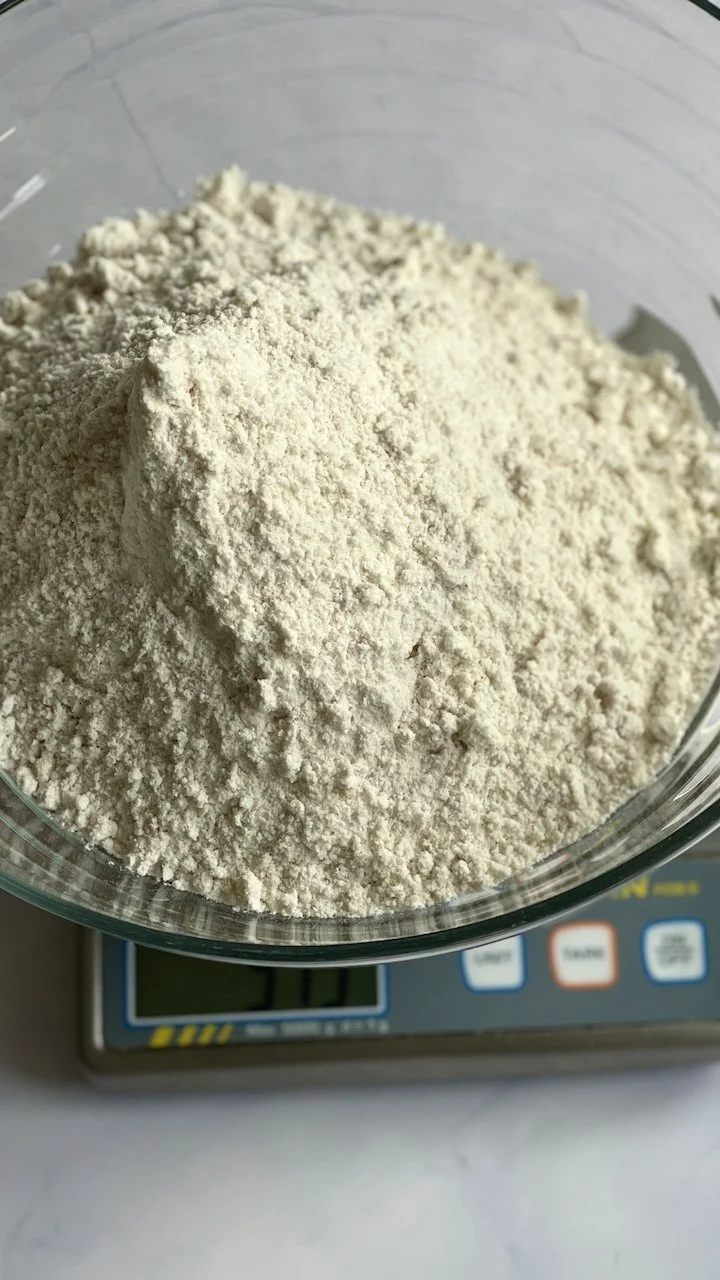
Mix the potato starch, millet flour, sorghum flour, sugar, salt and instant yeast in a large bowl until evenly combined.
Add the psyllium gel, olive oil and apple cider vinegar to the dry ingredients.
Turn the dough onto a lightly floured surface and roll it out into a rough rectangle, about 11 inches (28cm) long and 7-8 inches (18-20cm) wide.
Working along the wider end, fold the dough over itself and press down gently to seal. Keep doing this until you’ve got a log that’s around 10 inches (25cm) long. Pinch the seam together nice and tight to seal it up.
Transfer the rolled-up dough, seam side down, to a large baking sheet lined with parchment/baking paper.
Lightly cover with a damp tea towel and proof in a warm place for about 1 hour or until doubled in size.
While the bread is proofing, preheat the oven to 425 ºF (220 ºC) with the baking steel, or pizza stone on the middle rack.
Place the oven-proff dish with water on the bottom shelf of the oven.
Once your loaf has doubled in size, brush it gently with the egg white.
Use a sharp knife to score the loaf with 5-7 diagonal slashes.
Place the loaf into the oven on the lower middle oven rack, close the oven door and reduce the oven temperature to 400ºF (200ºC).
Bake the loaf at 400ºF (200ºC) with the steam for 15 minutes. Keep the oven door closed during that time.
After the 15 minutes, open the oven door to let out the steam and remove the bottom dish. Close the oven, and bake for 25-30 minutes longer or until the bread is golden brown.
Transfer the bread onto a wire cooling rack to cool to lukewarm before cutting it.
Store the bread in a sealed container or in the baking dish covered with plastic or beeswax, in the refrigerator, or at room temperature. Or cut it into slices and pop it in the freezer.
Enjoy.